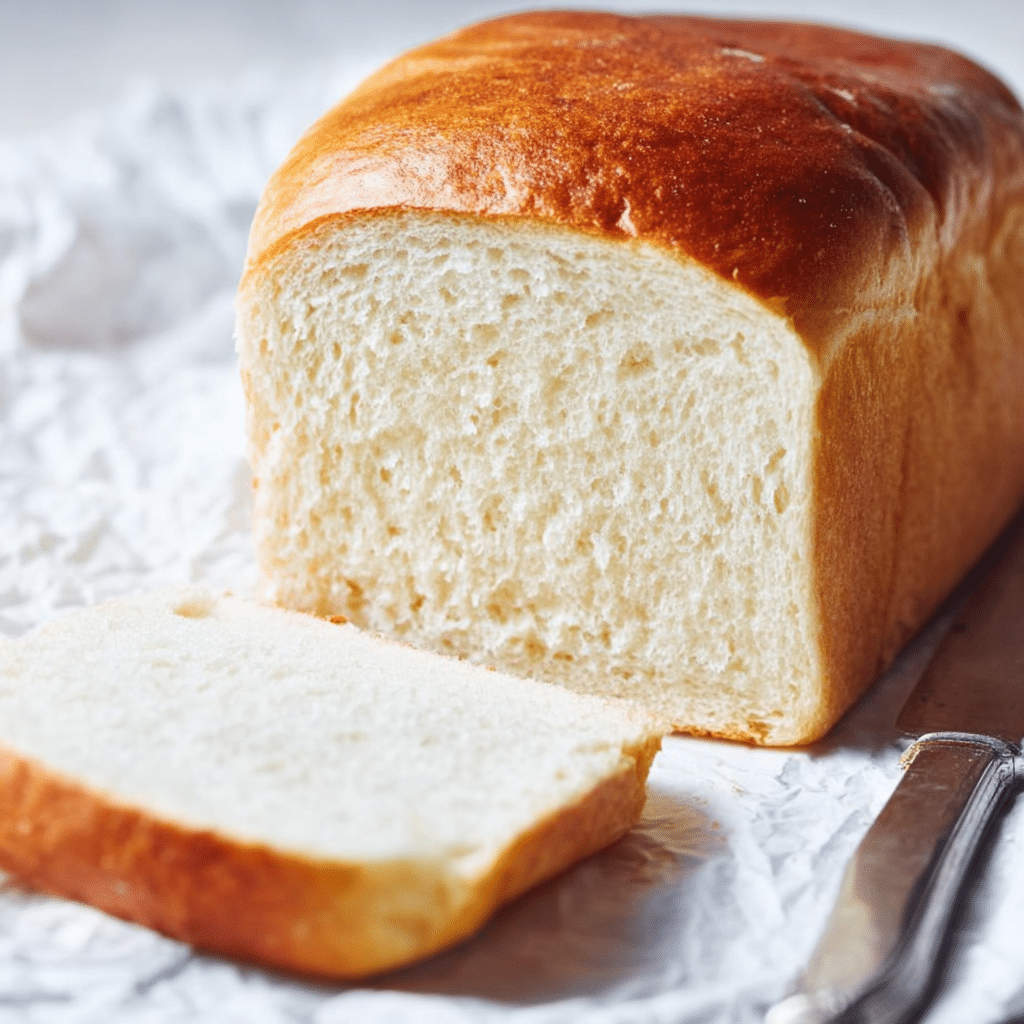
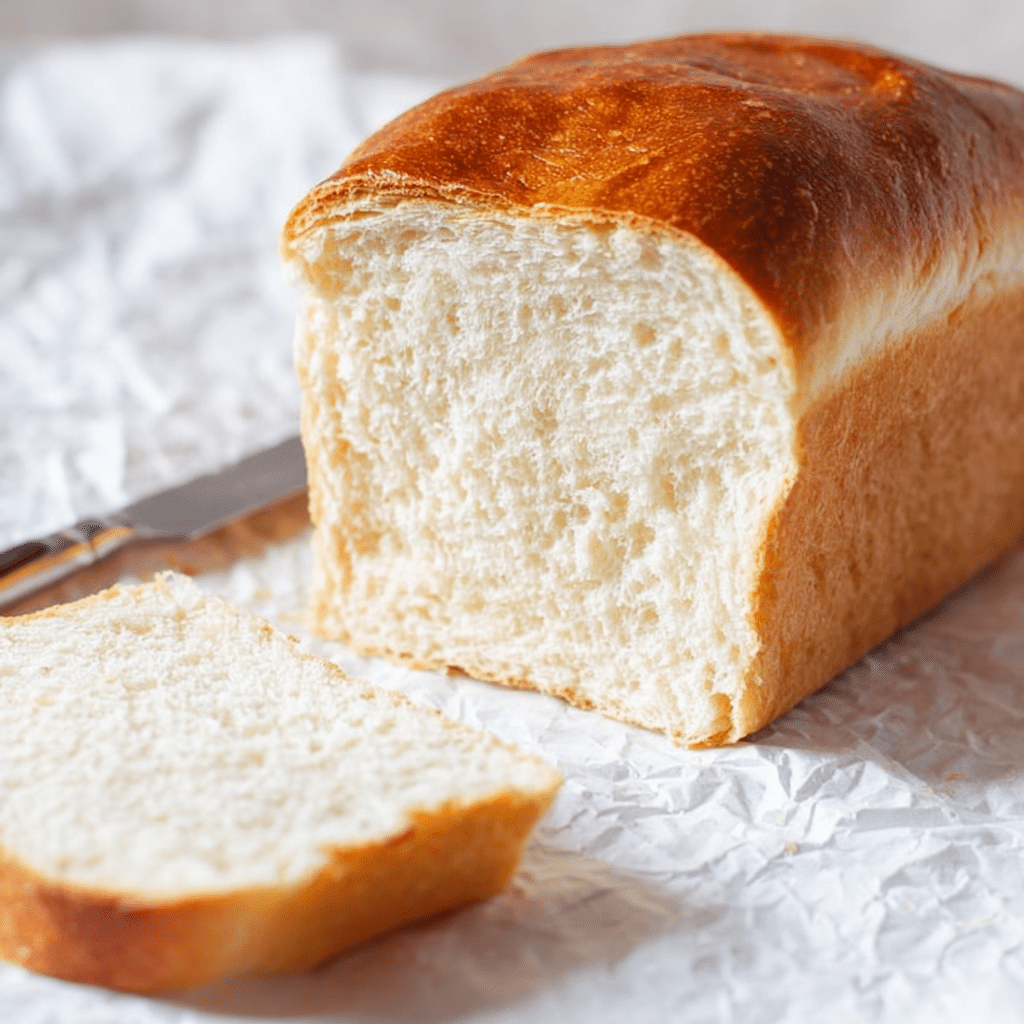
If you’ve ever craved the soft, fluffy texture of homemade bread, this Amish White Bread recipe is for you. With simple ingredients and a bit of patience, you can create a loaf of bread so delicious that you’ll never want to go back to store-bought again. Whether you slice it thin for sandwiches or thick for French toast, this bread is a perfect addition to your everyday meals. It’s a great recipe to try if you’re looking for a classic, comforting homemade bread to bake for breakfast, lunch, or dinner.
Ingredients
To make Amish White Bread, you’ll need the following ingredients:
-
1 cup warm water (110-120°F)
-
⅓ cup granulated sugar
-
1 packet (2 ¼ teaspoons) instant yeast
-
3 cups all-purpose flour
-
¾ teaspoon salt
-
2 tablespoons vegetable or canola oil
-
2 tablespoons unsalted butter, melted
These ingredients are simple, yet they work together to create a soft, airy texture that’s perfect for any meal. The warmth from the water helps activate the yeast, while the sugar gives the dough the rise it needs.
Instructions
Follow these easy steps to bake the perfect loaf of Amish White Bread:
1. Activate the yeast:
In a small bowl, combine the warm water and sugar. Stir until the sugar is dissolved, then sprinkle the instant yeast over the top. Let the mixture sit for about 10 minutes. During this time, you should start to see bubbles forming on the surface, which means the yeast is activated and ready for the next step.
2. Mix the dough:
In the bowl of a stand mixer fitted with a dough hook attachment, add the flour, salt, and vegetable oil. Once the yeast mixture has bubbled up, pour it into the bowl with the dry ingredients. Turn the mixer on to medium speed and allow the dough to knead for about 10 minutes. The dough should no longer stick to the sides of the bowl and should form a smooth, elastic texture.
If you don’t have a stand mixer, you can also mix and knead the dough by hand on a floured surface.
3. First rise:
Once the dough is smooth and elastic, roll it into a tight ball. Transfer the dough to a greased bowl, cover it loosely with plastic wrap, and place it in a warm, dark, draft-free location. Let it rise for about 60–90 minutes, or until it has doubled in size. The dough should feel light and airy after this time.
4. Shape the loaf:
Once the dough has risen, gently punch it down to deflate it. Turn the dough out onto a floured surface and shape it into a log that fits into a greased 9×5 loaf pan. Cover the pan loosely with plastic wrap and let the dough rise again in a warm place for 50-60 minutes, or until it has doubled in size again.
5. Preheat the oven:
While the dough is rising for the second time, preheat your oven to 350°F (175°C). It’s important to get the oven ready about 20 minutes before the second rise is done so that it’s hot and ready for baking.
6. Bake the bread:
Once the dough has risen and your oven is preheated, place the loaf pan in the oven and bake for 25–30 minutes. The bread should be golden brown on top, and the crust should sound hollow when you tap it.
7. Add finishing touches:
Remove the bread from the oven and brush the top of the loaf with the melted butter. This will give it a nice, soft, golden crust. Let the bread cool in the pan for about 10 minutes before transferring it to a wire cooling rack to cool completely.
Serving Suggestions
This Amish White Bread is incredibly versatile and can be enjoyed in many ways:
-
For sandwiches: Slice it thin for a perfect sandwich loaf. Whether you’re making a classic PB&J or a deli sandwich, the soft texture and mild flavor of this bread will complement your fillings beautifully.
-
For French toast: Cut thick slices and dip them in an egg batter to make fluffy French toast. Top with syrup, fresh fruit, or powdered sugar for a delightful breakfast or brunch.
-
As a side: Serve warm, freshly baked slices alongside soups, stews, or salads to complete your meal.
Why Amish White Bread?
The secret behind Amish White Bread lies in its simplicity. With only a few basic ingredients and easy steps, you get a delicious loaf of bread that rivals any store-bought version. The dough is kneaded until perfectly smooth, giving it an airy texture that’s perfect for a variety of uses. It’s an affordable and satisfying way to enjoy homemade bread, whether you’re new to baking or a seasoned pro.
Tips for Success
-
Measure ingredients properly: Be sure to measure your flour correctly. Too much flour can make the bread dense, while too little can prevent the dough from rising properly. If you’re unsure, try spooning the flour into your measuring cup and leveling it off with a knife.
-
Control the rise: If your kitchen is cooler, place the dough in a slightly warm oven (turned off) to help with the rising process.
-
Storage: To keep the bread fresh, store it in a plastic bag or an airtight container at room temperature. For longer storage, you can freeze the loaf for up to a month.
Conclusion
This Amish White Bread recipe is a great choice for anyone looking for a soft, versatile, and delicious homemade bread. It’s perfect for breakfast, lunch, or dinner and can easily be made without any special equipment. Once you’ve tried it, you’ll never want to buy store-bought bread again. Enjoy the comforting, homemade taste that only a loaf of freshly baked Amish white bread can provide!
Print
Homemade Amish White Bread Recipe
- Author: Lily
- Prep Time: 20 minutes
- Cook Time: 30 minutes
- Total Time: 2 hours 30 minutes (includes rising times)
- Yield: 1 loaf (about 12 slices)
- Category: Bread
- Method: Baking
- Cuisine: American
- Diet: Vegetarian
Description
If you’ve ever craved the soft, fluffy texture of homemade bread, this Amish White Bread recipe is for you. With simple ingredients and a bit of patience, you can create a loaf of bread so delicious that you’ll never want to go back to store-bought again. Whether you slice it thin for sandwiches or thick for French toast, this bread is a perfect addition to your everyday meals.
Ingredients
1 cup warm water (110-120°F)
⅓ cup granulated sugar
1 packet (2 ¼ teaspoons) instant yeast
3 cups all-purpose flour
¾ teaspoon salt
2 tablespoons vegetable or canola oil
2 tablespoons unsalted butter, melted
Instructions
-
Activate the yeast:
In a small bowl, combine the warm water and sugar. Stir until the sugar is dissolved, then sprinkle the instant yeast over the top. Let the mixture sit for about 10 minutes. The yeast should bubble up, indicating it’s activated. -
Mix the dough:
In the bowl of a stand mixer, add the flour, salt, and vegetable oil. Once the yeast mixture is bubbly, pour it into the bowl with the dry ingredients. Turn the mixer on medium speed and knead the dough for about 10 minutes until smooth and elastic. If you don’t have a stand mixer, you can knead by hand on a floured surface. -
First rise:
Roll the dough into a tight ball and place it in a greased bowl. Cover loosely with plastic wrap and let it rise for 60-90 minutes in a warm, dark place until doubled in size. -
Shape the loaf:
Punch down the dough to deflate it. Turn it out onto a floured surface and shape it into a log that fits a greased 9×5 loaf pan. Cover with plastic wrap and let it rise for 50-60 minutes until it has doubled in size. -
Preheat the oven:
Preheat your oven to 350°F (175°C) about 20 minutes before the second rise is finished. -
Bake the bread:
Place the loaf in the oven and bake for 25-30 minutes. The bread should be golden brown on top and sound hollow when tapped. -
Finishing touches:
Brush the top of the loaf with melted butter for a soft, golden crust. Let the bread cool for 10 minutes in the pan before transferring it to a wire rack to cool completely.
Notes
-
Water Temperature: Make sure the water is not too hot, as this can kill the yeast. Aim for a temperature of 110-120°F for the perfect activation.
-
Flour Variations: If you’d like, you can experiment with part whole wheat flour for a healthier loaf, but it may affect the texture slightly.
-
Dough Hook Use: If using a stand mixer with a dough hook, keep an eye on the dough’s consistency. It should not stick to the sides but remain slightly tacky to the touch.
-
Butter Brushing: Brushing the bread with melted butter right out of the oven helps give it that beautiful, golden crust and adds extra flavor.

