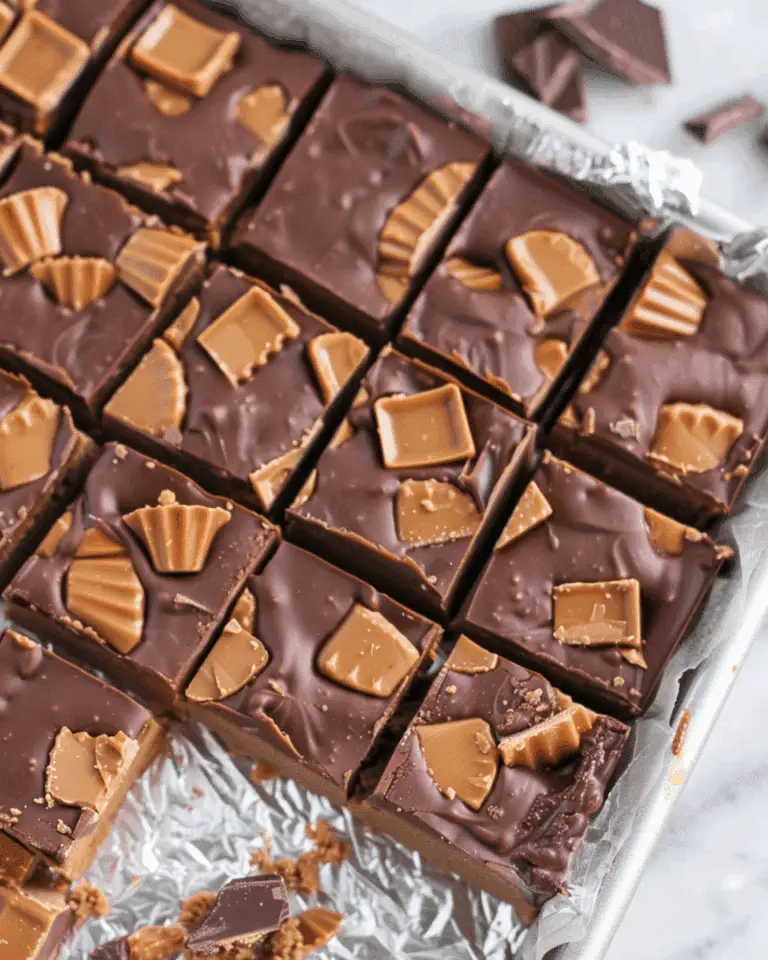
When you crave a snack that feels like a warm hug in every bite, nothing quite beats this Homemade Gluten-Free Granola Bars with Peanut Butter, Honey, and Chocolate Chips Recipe. These bars combine the perfect balance of creamy peanut butter, natural sweetness from honey, and bursts of mini chocolate chips, all wrapped up with wholesome gluten-free oats and a bit of crunch from pepitas. They are quick to whip up, naturally gluten-free, and infinitely customizable, making them a pantry hero for busy days or whenever hunger strikes. Every bar is a delightful mix of chewy, sweet, and nutty—a true crowd-pleaser you’ll keep coming back to.
Ingredients You’ll Need
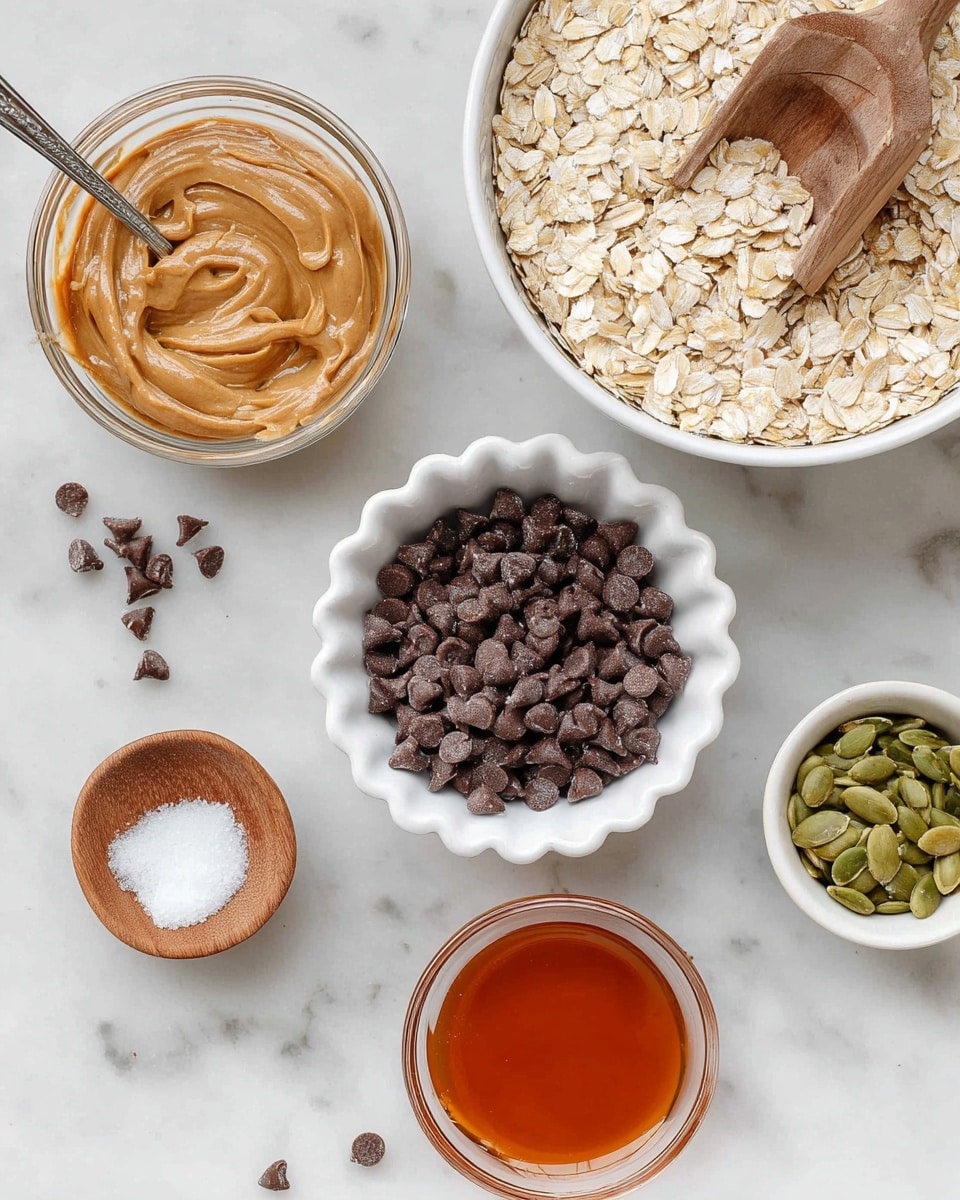
Simple yet essential, these ingredients come together to create a granola bar that’s chewy, sweet, nutty, and deliciously satisfying. Each plays a starring role in the flavor, texture, and wholesome goodness of your bars.
- 1 cup very smooth creamy natural peanut butter: Adds rich creaminess and protein, binding everything together.
- ⅔ cup honey: Naturally sweetens and helps hold the bars firmly while adding a lovely golden color.
- 1 teaspoon vanilla extract: Brings warmth and depth, elevating the overall flavor beautifully.
- Heaping ½ teaspoon sea salt: Balances sweetness and enhances all the other flavors.
- 2½ cups whole rolled oats: The hearty, gluten-free base that makes these bars satisfyingly chewy.
- ⅓ cup mini chocolate chips: Tiny pockets of melty chocolate that add just the right touch of sweetness.
- 3 tablespoons pepitas: Adds a delightful crunch and a subtle nuttiness—feel free to swap with crushed peanuts or cashews.
How to Make Homemade Gluten-Free Granola Bars with Peanut Butter, Honey, and Chocolate Chips Recipe
Step 1: Prep Your Pan
Start by lining an 8×8 inch baking pan with parchment paper. This step ensures your granola bars won’t stick and makes it easy to lift them out after chilling. Trust me, the parchment is your best friend here for clean, neat bars!
Step 2: Mix the Wet Ingredients
In a large bowl, combine the creamy natural peanut butter, honey, vanilla extract, and sea salt. Stir them together until you have a smooth, glossy mixture. This blend is the heart of your bars—it’s where the magic of flavor and binding power happens.
Step 3: Add the Dry Ingredients
Next up, toss in the whole rolled oats, mini chocolate chips, and pepitas. At first, it may look like the mixture won’t come together—it might seem crumbly or too dry—but keep stirring! The sticky peanut butter and honey will gradually coat the oats and nuts, binding everything perfectly. It’s a bit of a workout, but so worth it.
Step 4: Press and Chill
Transfer the mixture to your prepared pan and use the back of a measuring cup or another piece of parchment paper to press the mixture firmly, flattening it to an even layer. This step ensures your bars hold together nicely after chilling. Then pop it into the fridge for at least 1 hour to set up and become delightfully chewy and sliceable.
Step 5: Slice and Enjoy
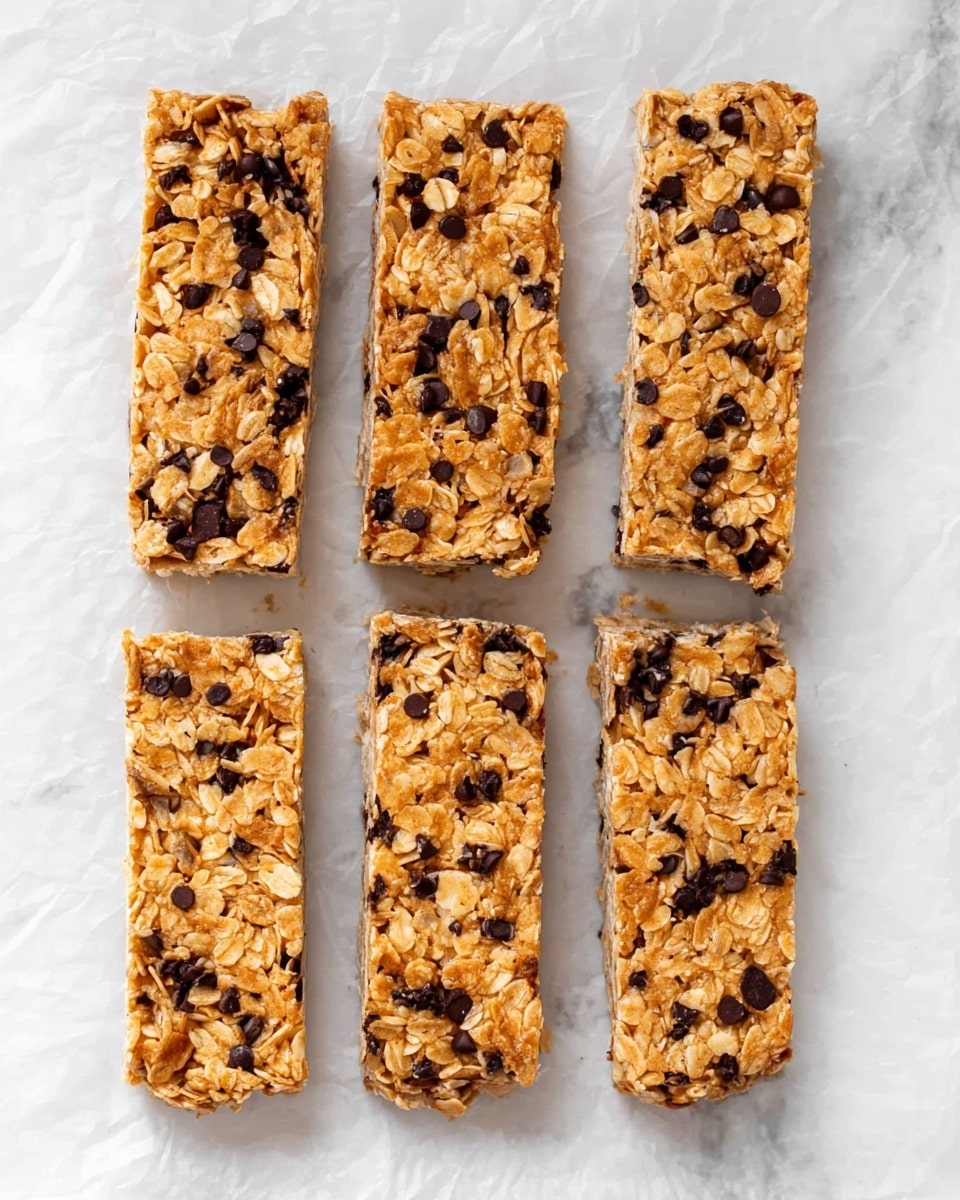
Once chilled, lift the granola slab from the pan using the parchment paper, place it on a cutting board, and slice into bars or squares. Now you’re ready to enjoy your homemade, wholesome snack perfection!
How to Serve Homemade Gluten-Free Granola Bars with Peanut Butter, Honey, and Chocolate Chips Recipe
Garnishes
If you want to dress up your bars a bit, sprinkle a few extra mini chocolate chips or pepitas on top right before chilling. A light drizzle of melted dark chocolate or a pinch of sea salt on each bar can also add a gourmet touch and a contrast of flavors that’ll delight any palate.
Side Dishes
These granola bars are fantastic on their own but pair beautifully with fresh fruit like crisp apple slices or juicy berries for a balanced snack. A dollop of Greek yogurt or a glass of cold milk can also complete a snack time that feels indulgent yet nourishing.
Creative Ways to Present
Looking to impress? Stack your homemade granola bars in a rustic basket lined with a colorful cloth napkin for a cozy gathering or pack them in individual parchment paper wraps tied with twine for thoughtful homemade gifts. You can also crumble them over smoothie bowls or ice cream for a delightful crunchy topping.
Make Ahead and Storage
Storing Leftovers
You’ll want to keep these bars fresh and chewy, so store them in an airtight container in the fridge. They stay delicious for up to a week, making them perfect for easy snacking throughout the week.
Freezing
If you want to stock up, these granola bars freeze really well. Wrap them individually or keep them in an airtight container with parchment paper between layers to prevent sticking. When you want a quick treat, just thaw them at room temperature for about 10 minutes or so.
Reheating
While these bars are perfect cold or at room temperature, a quick 10–15 seconds in the microwave can gently soften them up if you prefer a warmer, gooier bite—especially the melty mini chocolate chips will feel like a little bit of magic.
FAQs
Can I substitute peanut butter with another nut butter?
Absolutely! Cashew butter or almond butter both work beautifully in this recipe and will give slightly different flavor profiles while keeping the bars rich and chewy.
Are these granola bars suitable for kids?
Definitely yes! These bars have a sweet, nutty flavor that kids usually love, and the mini chocolate chips add just the right amount of treat without being overpowering.
Can I use regular chocolate chips instead of mini ones?
Regular-sized chocolate chips can make it a bit harder for the bars to hold together well. If you don’t have minis, chopping chocolate into smaller pieces is a great alternative to maintain the right texture.
How can I make this recipe less sweet?
If you prefer a less sweet snack, you can reduce the honey slightly or swap chocolate chips for dried fruit or nuts. There’s also a wonderful alternative called energy balls that are lower in sweetness and just as satisfying.
Is this recipe truly gluten-free?
Yes, as long as you use certified gluten-free oats, this recipe is naturally gluten-free and safe for those with gluten sensitivities or celiac disease.
Final Thoughts
There’s something so rewarding about making snacks from scratch, especially when they taste as good as these Homemade Gluten-Free Granola Bars with Peanut Butter, Honey, and Chocolate Chips Recipe. Easy, wholesome, and utterly delicious, they’re a fantastic go-to treat for packed lunches, afternoon munchies, or on-the-go fuel. I can’t wait for you to try them and make them your own little bit of homemade comfort!
Print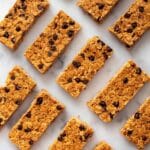
Homemade Gluten-Free Granola Bars with Peanut Butter, Honey, and Chocolate Chips Recipe
- Prep Time: 5 minutes
- Cook Time: 0 minutes
- Total Time: 1 hour 5 minutes
- Yield: 8 bars
- Category: Snack
- Method: No-Cook
- Cuisine: American
- Diet: Gluten Free
Description
These homemade granola bars are a quick, delicious, and naturally gluten-free snack that combines creamy peanut butter, honey, oats, and mini chocolate chips. Perfect for a sweet treat, they are easy to customize with your favorite mix-ins and ideal for an energy boost or on-the-go snack.
Ingredients
Main Ingredients
- 1 cup very smooth creamy natural peanut butter or cashew butter
- ⅔ cup honey
- 1 teaspoon vanilla extract
- Heaping ½ teaspoon sea salt
- 2½ cups whole rolled oats
- ⅓ cup mini chocolate chips*
- 3 tablespoons pepitas, or crushed peanuts or cashews
Instructions
- Prepare the pan: Line an 8×8 inch baking pan with parchment paper to prevent sticking and make it easier to remove the granola bars after chilling.
- Mix wet ingredients: In a large bowl, stir together the peanut butter, honey, vanilla extract, and sea salt until the mixture is smooth and uniform.
- Add dry ingredients: Add the rolled oats, mini chocolate chips, and pepitas or chosen nuts to the wet mixture. Initially, the mixture may seem dry, but continue stirring until all ingredients are well combined.
- Press mixture into pan: Transfer the mixture into the prepared pan. Use a second piece of parchment paper and the back of a measuring cup to press the mixture down firmly and evenly, ensuring the bars will hold together when sliced.
- Chill: Refrigerate the pressed mixture for at least 1 hour to allow it to set firmly.
- Slice and store: Once chilled and set, remove from the pan, slice into 8 bars, and store the bars in the refrigerator to keep them fresh.
Notes
- Use mini chocolate chips for better cohesion; if unavailable, chop regular chocolate into mini pieces to prevent the bars from falling apart.
- Customize your bars by substituting pepitas with crushed peanuts or cashews as preferred.
- For a less sweet option, consider trying alternative recipes like energy balls.

