Why You’ll Love This Recipe
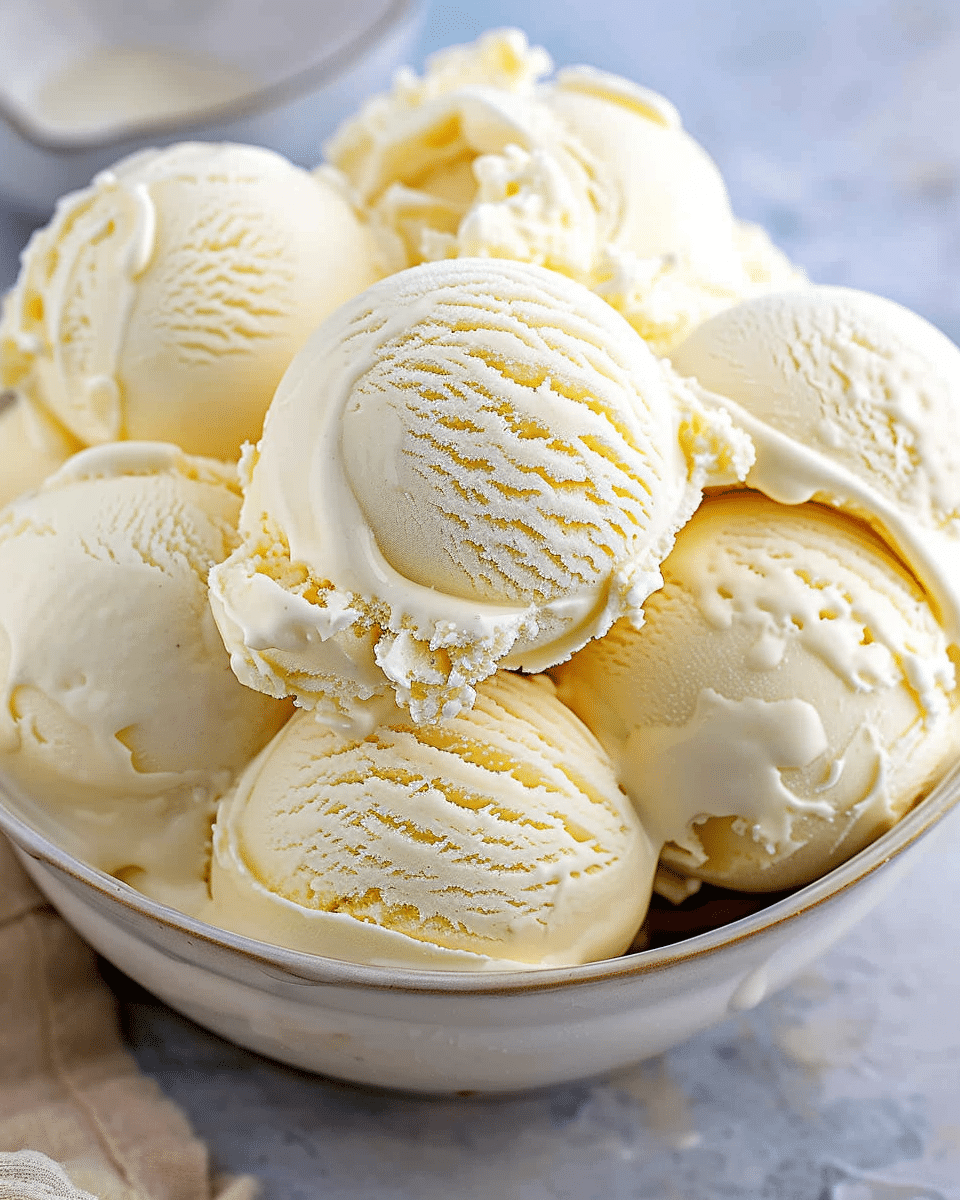
This homemade no-churn vanilla ice cream is a must-try for anyone who loves simple, yet indulgent desserts. The best part? No ice cream maker is needed! It’s quick and easy to make, with just four basic ingredients that you probably already have in your kitchen. Whether you’re craving something cool and sweet during the summer or a comforting dessert in the winter, this ice cream fits the bill. The creamy texture, the hint of vanilla, and the ease of preparation make this a go-to treat for any occasion.
Ingredients
-
2 cups heavy cream
-
1 cup sweetened condensed milk
-
2 tsp pure vanilla extract
-
Pinch of salt
(Tip: You’ll find the full list of ingredients and measurements in the recipe card below.)
Directions
-
Gather all ingredients.
-
In a large mixing bowl, whip the heavy cream using an electric mixer until soft peaks form.
-
In another bowl, combine the sweetened condensed milk, vanilla extract, and a pinch of salt until well mixed.
-
Gently fold the whipped cream into the condensed milk mixture until just combined.
-
Transfer to an airtight container, smooth the top, cover tightly, and freeze for at least 6 hours (or overnight).
-
Scoop into bowls or cones and enjoy!
Servings and Timing
-
Servings: This recipe yields approximately 4 servings (1/2 cup servings).
-
Total Time: 15 minutes (plus 6 hours of freezing or overnight).
-
Freezing Time: 6 hours minimum or overnight for best results.
Variations
-
Chocolate Chip: Add mini chocolate chips or chopped chocolate to the mixture before freezing for a classic twist.
-
Fruit Swirl: Stir in a fruit puree, like strawberry or raspberry, before freezing for a fruity flavor boost.
-
Caramel Swirl: Drizzle some caramel sauce into the mixture before freezing for a rich and indulgent flavor.
-
Nutty Delight: Add chopped nuts such as almonds, pecans, or hazelnuts for a crunchy texture contrast.
-
Coffee Flavored: Add 1-2 tablespoons of instant coffee granules to the mixture for a coffee-flavored ice cream.
Storage/Reheating
-
Storage: Store your homemade vanilla ice cream in an airtight container in the freezer for up to 2 weeks. Be sure to cover it tightly to prevent ice crystals from forming on the surface.
-
Reheating: Since this is a no-churn ice cream, it doesn’t require any reheating. However, if it becomes too hard in the freezer, allow it to sit at room temperature for 5–10 minutes before scooping.
FAQs
1. How long does it take to make no-churn vanilla ice cream?
It only takes about 15 minutes to prepare the ingredients. However, the ice cream needs to freeze for at least 6 hours or overnight for the best results.
2. Can I make this recipe without an electric mixer?
Yes! While using an electric mixer helps speed up the process of whipping the cream, you can whip the heavy cream by hand with a whisk. It just takes a little more time and effort.
3. Can I use low-fat or skim milk instead of heavy cream?
For the best texture and creaminess, heavy cream is recommended. Using low-fat or skim milk will result in a less creamy texture and may not hold up as well.
4. Can I add other flavors to this ice cream?
Absolutely! You can customize this vanilla base with your favorite flavorings such as cocoa powder, fruit purees, or extracts like almond or hazelnut.
5. Is this recipe gluten-free?
Yes, this homemade vanilla ice cream is naturally gluten-free, as it doesn’t contain any gluten-containing ingredients.
6. How long can I store homemade no-churn vanilla ice cream?
You can store the ice cream in the freezer for up to 2 weeks. After that, the texture may start to deteriorate.
7. Can I use non-dairy substitutes in this recipe?
Yes! You can use coconut cream or any other non-dairy cream alternative in place of the heavy cream, and sweetened condensed coconut milk as a substitute for the condensed milk.
8. How can I make this recipe more indulgent?
You can add mix-ins like chocolate chips, cookie crumbs, or swirls of fudge or caramel to make this treat even more indulgent.
9. Can I use a different sweetener?
You can experiment with other sweeteners like honey or maple syrup, but the texture and taste may vary slightly from the original recipe. Sweetened condensed milk is what gives the ice cream its rich, creamy consistency.
10. Can I double the recipe?
Yes, you can double or triple the recipe to make more servings. Just be sure to use a larger mixing bowl and container for freezing.
Conclusion
Homemade no-churn vanilla ice cream is the perfect treat for those who want a creamy, indulgent dessert without all the fuss. With just a few simple ingredients and minimal effort, you can enjoy a rich and velvety ice cream that’s customizable to your taste. Whether you’re serving it at a summer party or enjoying it on a cozy evening, this recipe will never disappoint. It’s easy to make, versatile, and always a crowd-pleaser. Enjoy every scoop!
Homemade No-Churn Vanilla Ice Cream
- Author: Lily
- Prep Time: 15 minutes
- Cook Time: 0 minutes
- Total Time: 6 hours 15 minutes
- Yield: 4 servings (1/2 cup each)
- Category: Dessert
- Method: No-Churn / Freezing
- Cuisine: American
- Diet: Gluten Free
Description
Creamy homemade no-churn vanilla ice cream made with just four simple ingredients. This easy recipe requires no ice cream maker and can be customized with your favorite mix-ins for a refreshing and indulgent dessert.
Ingredients
2 cups heavy cream
1 cup sweetened condensed milk
2 tsp pure vanilla extract
Pinch of salt
Instructions
- Gather all ingredients.
- In a large mixing bowl, whip the heavy cream using an electric mixer until soft peaks form.
- In another bowl, combine the sweetened condensed milk, vanilla extract, and salt until well mixed.
- Gently fold the whipped cream into the condensed milk mixture until just combined.
- Transfer the mixture to an airtight container, smooth the top, cover tightly, and freeze for at least 6 hours or overnight.
- Scoop into bowls or cones and enjoy!
Notes
- Freeze for at least 6 hours or overnight for best results.
- Store in an airtight container in the freezer for up to 2 weeks.
- If too hard to scoop, let sit at room temperature for 5–10 minutes before serving.
- Customize with mix-ins like chocolate chips, fruit puree, caramel, or nuts.
- This recipe is naturally gluten-free.
Nutrition
- Serving Size: 1/2 cup
- Calories: 280
- Sugar: 18g
- Sodium: 65mg
- Fat: 20g
- Saturated Fat: 12g
- Unsaturated Fat: 7g
- Trans Fat: 0g
- Carbohydrates: 22g
- Fiber: 0g
- Protein: 4g
- Cholesterol: 70mg

