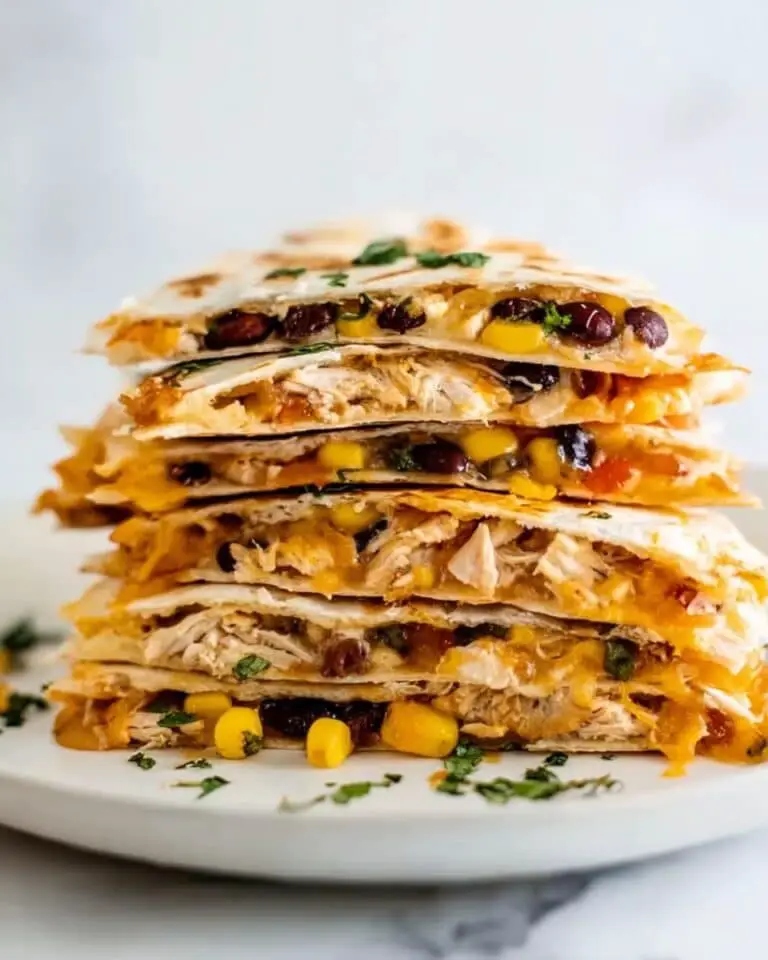
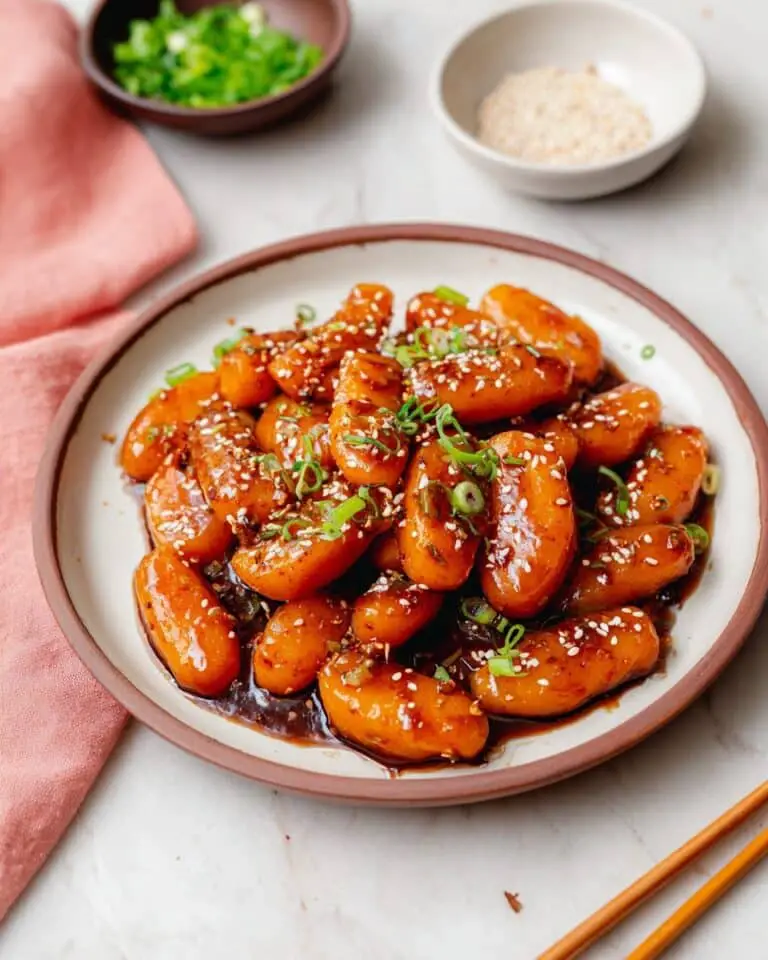
“`html
If you are craving a delicious, handheld meal that combines all the best parts of a classic taco wrapped up in a flaky, buttery crust, you have to try this Taco Pockets Recipe. Picture juicy, seasoned ground beef mingled with melty Monterey Jack cheese nestled inside soft biscuit dough, baked to golden perfection. This recipe is a game changer for easy weeknight dinners or crowd-pleasing lunches, bringing that comforting, hearty taco flavor in a fun and portable format everyone will love.
Ingredients You’ll Need
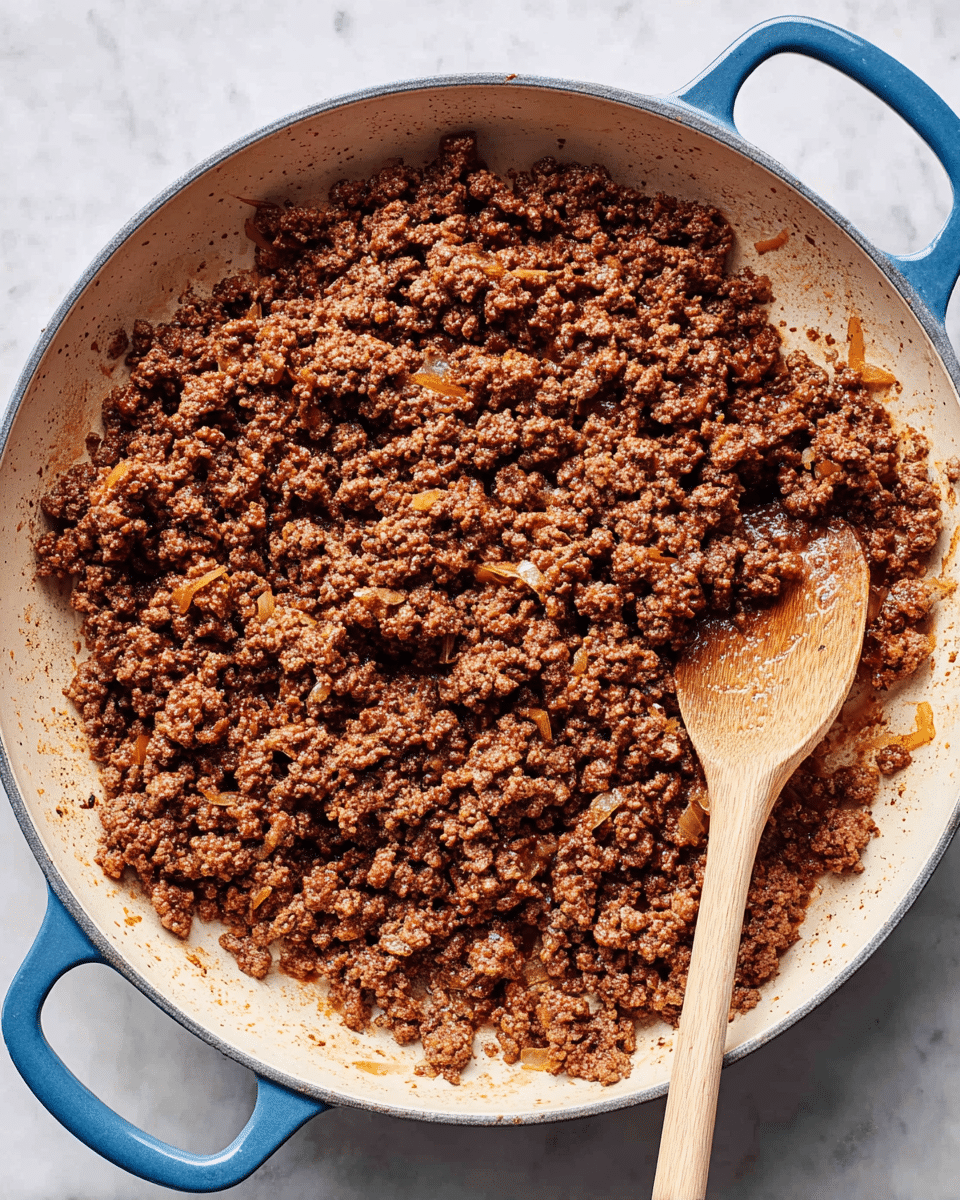
These ingredients keep the Taco Pockets Recipe simple but incredibly satisfying. Each component adds to the overall taste, texture, and appeal—from the savory beef to the tender biscuit dough that wraps everything up beautifully.
- 1 pound ground beef: Choose lean or regular beef depending on your preference for juiciness and fat content.
- 1 ounce taco seasoning: This is where the bold, zesty taco flavor comes from, adding a perfect kick.
- ⅔ cup water: Helps to bring the seasoning and salsa together into a thick, cohesive filling.
- ½ cup salsa: Adds moisture and a fresh, slightly tangy note to the meat mixture.
- 16.3 ounce can buttermilk biscuits: The shortcut to creating a tender, flaky pocket with minimal effort.
- 1 cup shredded Monterey Jack cheese: Melts beautifully inside for creamy, gooey goodness.
- 1 large egg, beaten: Brushed on top to give that gorgeous golden finish and slight crispness after baking.
- Optional toppings: Salsa, sour cream, guacamole, shredded lettuce, or any favorites you enjoy to customize each bite.
How to Make Taco Pockets Recipe
Step 1: Prepare the Taco Meat
Start by heating a large skillet over medium-high heat and cooking the ground beef until it’s nicely browned and broken into small crumbles. Draining excess grease ensures the pockets won’t be too oily. Then add the taco seasoning, water, and salsa to the pan, simmering the mixture until it thickens into a rich, flavorful filling that will hold together perfectly inside the dough.
Step 2: Flatten the Biscuit Dough
Using your hands or a rolling pin, gently press each biscuit into a 6-inch round. This step transforms the fluffy biscuit dough into a canvas ready to wrap your delicious filling, creating that satisfying pocket shape that holds everything in place.
Step 3: Fill and Fold
Place about 1/3 cup of the cooked taco meat mixture onto the center of each biscuit round. Sprinkle a generous handful of shredded Monterey Jack cheese over the meat, then fold the dough over to form a half-moon. Press and crimp the edges firmly with a fork to seal all those fantastic flavors inside and prevent any filling from escaping during baking.
Step 4: Bake to Golden Perfection
Arrange the sealed pockets on a baking sheet lined with parchment paper or sprayed lightly with non-stick spray. Brush each pocket with beaten egg, which will create a beautiful golden brown crust. Bake in a preheated 375°F oven for about 12 to 15 minutes, until the dough is fully cooked and irresistibly golden on top.
How to Serve Taco Pockets Recipe
Garnishes
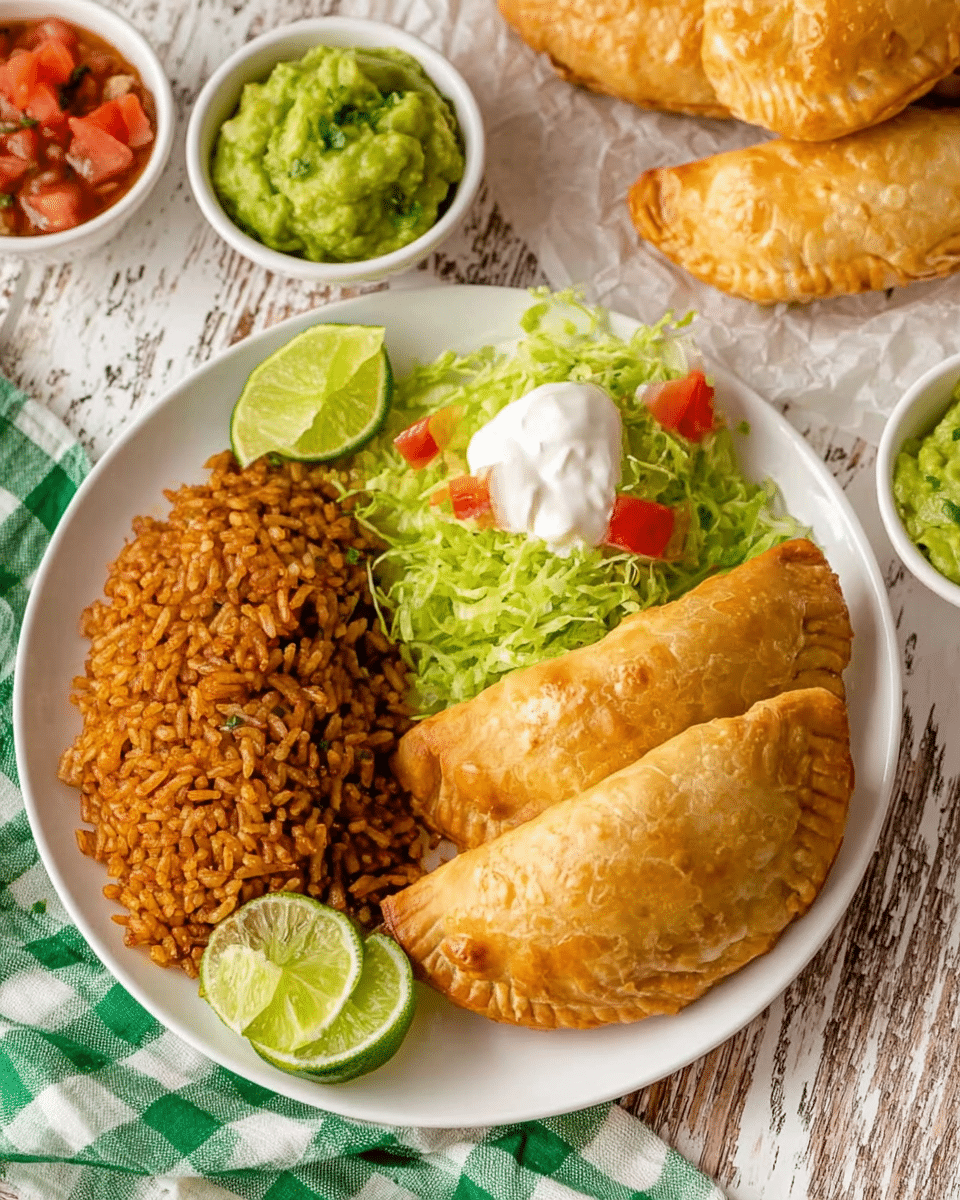
Once out of the oven, these Taco Pockets Recipe gems become even better with fresh toppings. A dollop of cool sour cream or guacamole brings creamy contrast, while shredded lettuce adds a refreshing crunch. Extra salsa on the side invites a little zing with every bite.
Side Dishes
Serve your Taco Pockets alongside classic Mexican-inspired sides like Mexican rice, refried beans, or a vibrant corn salad. A simple fresh tomato and cucumber salad can brighten up the meal and balance the richness of the pockets.
Creative Ways to Present
Feeling playful? Cut the baked pockets into smaller pieces for an appetizer platter at your next gathering. You can also serve them with a variety of dips in small bowls, turning your Taco Pockets Recipe into an interactive fiesta where everyone can customize their bites.
Make Ahead and Storage
Storing Leftovers
Leftover Taco Pockets can be stored in an airtight container in the refrigerator for up to 3 days. Keeping them sealed well helps maintain their flaky crust while preserving the juicy filling inside.
Freezing
If you want to make these ahead of time, freeze the uncooked filled pockets on a baking sheet until solid, then transfer them to a freezer-safe bag. They can be stored for up to 2 months without losing flavor or texture.
Reheating
To reheat, bake the pockets at 350°F for about 10-12 minutes if thawed or 20 minutes if frozen, until warmed through and crisp on the outside. Avoid microwaving, as it may make the dough soggy.
FAQs
Can I use a different type of dough instead of biscuit dough?
Absolutely! While biscuit dough gives a soft, flaky texture, you can try crescent roll dough or even pizza dough for a different twist. Each dough will alter the texture but keep the delicious filling intact.
Is it possible to make this recipe vegetarian?
Yes! Substitute the ground beef with a plant-based meat alternative, cooked lentils, or sautéed veggies like mushrooms and peppers for a tasty vegetarian version of the Taco Pockets Recipe.
Can I prepare the taco meat filling in advance?
Definitely. The meat mixture can be made up to a day ahead and stored in the fridge. Just warm it slightly before filling the dough to make handling easier.
What cheese alternatives work well in Taco Pockets?
While Monterey Jack melts beautifully, you can also use cheddar, mozzarella, or a Mexican blend cheese for that gooey texture and rich flavor inside your pockets.
How spicy is the taco seasoning in this recipe?
The level of spice depends on the seasoning brand you choose. Most store-bought taco seasoning is mildly spicy, but you can always add a pinch of chili powder or cayenne pepper if you like it hotter, or reduce it for a milder taste.
Final Thoughts
This Taco Pockets Recipe is one of those kitchen winners you’ll want to keep coming back to again and again. Easy to prepare, incredibly tasty, and customizable, it’s the perfect go-to for satisfying that taco craving with a cozy, homemade touch. I can’t wait for you to try it and watch it become a fast favorite in your home!
“`
Print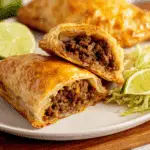
Taco Pockets Recipe
- Prep Time: 15 minutes
- Cook Time: 15 minutes
- Total Time: 30 minutes
- Yield: 8 servings
- Category: Main Course
- Method: Baking
- Cuisine: American
Description
Delicious Taco Pockets featuring a savory taco beef and cheese filling wrapped in flaky biscuit dough, baked to golden perfection. This easy-to-make meal is perfect for lunch or dinner and can be customized with your favorite toppings like salsa, sour cream, and guacamole.
Ingredients
For the Taco Filling
- 1 pound ground beef
- 1 ounce taco seasoning
- 2/3 cup water
- 1/2 cup salsa (plus extra for serving)
For the Dough and Assembly
- 16.3 ounce can buttermilk biscuits
- 1 cup shredded Monterey Jack cheese
- 1 large egg, beaten (for egg wash)
Optional Toppings
- Salsa
- Sour cream
- Guacamole
- Shredded lettuce
- Any other toppings you enjoy
Instructions
- Preheat Oven: Preheat your oven to 375°F (190°C). Prepare a baking sheet by lining it with parchment paper or lightly greasing it with non-stick cooking spray.
- Cook Ground Beef: Heat a large skillet over medium-high heat. Add the ground beef and cook, breaking it apart with a spoon, until browned and fully cooked. Drain excess grease and return the beef to the skillet.
- Add Seasoning and Salsa: Stir in the taco seasoning, water, and 1/2 cup salsa. Simmer over medium heat, stirring occasionally until the mixture thickens, about 3-5 minutes, then remove from heat.
- Prepare Biscuit Dough: Flatten each biscuit into a 6-inch round using your hands or a rolling pin on a lightly floured surface.
- Assemble Taco Pockets: Place about 1/3 cup of the taco meat mixture in the center of each biscuit round. Sprinkle a generous handful of shredded Monterey Jack cheese on top. Fold the biscuit dough over to form a half-moon shape and firmly press the edges together to seal. Crimp edges with a fork to ensure they stay closed during baking.
- Apply Egg Wash: Arrange the sealed pockets on the prepared baking sheet. Brush the tops with the beaten egg to give them a golden, glossy finish after baking.
- Bake: Bake in the preheated oven for 12-15 minutes or until the tops turn golden brown and the dough is cooked through.
- Cool and Serve: Let the taco pockets cool for a few minutes before serving. Enjoy warm with additional toppings such as salsa, sour cream, guacamole, or shredded lettuce.
Notes
- You can substitute the buttermilk biscuits with homemade biscuit dough if preferred.
- For a spicier kick, add chopped jalapeños to the beef mixture.
- Leftover taco pockets can be refrigerated and reheated in the oven for best texture.
- To make this recipe vegetarian, replace ground beef with seasoned cooked lentils or plant-based meat substitutes.

